Turning a Cheap Travel Router into a Wireless Hacking Tool
About flashing your own dual-band WiFi-Pineapple clone

Disclaimer
Credits go to xschwarze for the ported firmware and to shurikenhacks for creating video walkthroughs.
Links:
https://www.youtube.com/watch?v=udnxagkSzoA
https://www.youtube.com/watch?v=67sGUzKJ8IU&t
Introduction
Down the rabbit hole of networking and cybersecurity, it doesn’t take long before stumbling across wireless hacking.
The attack surface of WiFi might have slimmed down now WPA3 exists and awareness grows, but it still is relevant and to me, fun to figure out!
As I went deeper, this tool got my attention: the WiFi Pineapple by Hak5.
It’s practically a wireless auditing tool, a device designed to make WiFi reconnaissance and attacks accessible, with a clean web UI and a library of community modules.
There’s also a reason I didn’t just buy one: the price tag. At well over €200 for the base model, it’s a tough sell when you’re just getting started and want to experiment.
So I went looking for an alternative.
The Alternative: A Secondhand Travel Router
After some digging, I came across a project by xchwarze.
A WiFi Pineapple firmware cloner that can be flashed onto a range of off-the-shelf travel routers.
The idea is as follows: certain budget routers share similar hardware with the original Pineapple (same chipset family, similar specs), and with the right firmware, they are nearly the same.
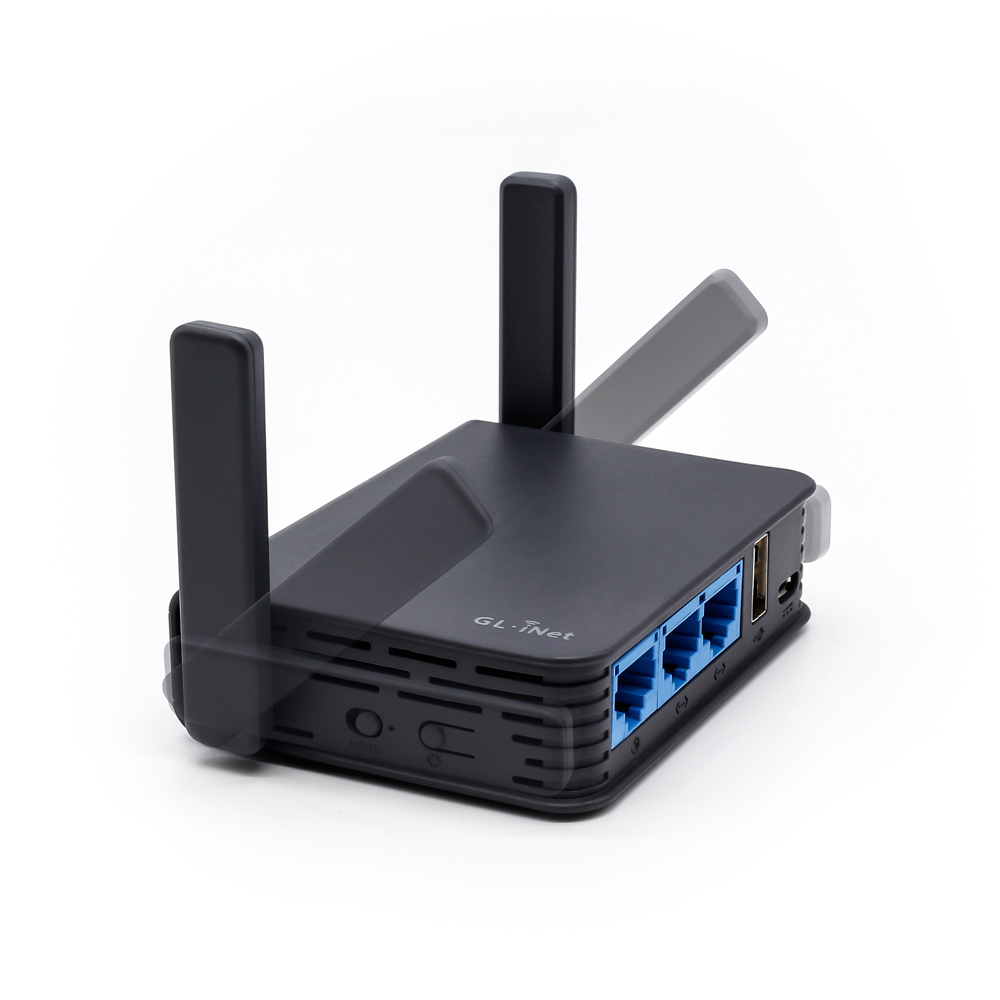 I picked up a GL-Inet AR750s-ext secondhand for around €25, a travel router with a 2.4GHz and 5GHz antenna and a slot for an sd card. (Recommended by xschwarze on his devices list.) At only a fraction of the cost of the real thing.
Why a travel router? They’re compact, powered via USB, and often built on OpenWrt-compatible hardware. Perfect for a portable hacking kit.
Flashing the Firmware
⚠️ Flashing third-party firmware voids your warranty and could brick your device!
The flashing process itself is surprisingly straightforward if you follow the documentation carefully. At a high level it comes down to:
- Identifying your router model and confirming it’s on the supported hardware list in xchwarze’s repo.
- Downloading the correct firmware build for your specific device variant.
- Accessing the router’s stock UI (or serial console, depending on the model) and flashing via the firmware upgrade page.
- Waiting, rebooting, and connecting to the new Pineapple-style interface.
A few minutes later, I was greeted with the WiFi Pineapple web dashboard,
running on hardware I picked up for pocket change.
For detailed information on flashing and setting up the clone, please refer to xschwarze's repo
What Can You Actually Do With It?
This is where things get interesting. The Pineapple firmware ships with a suite of built-in tools and supports community modules. Here’s a look at a few of the more notable capabilities: 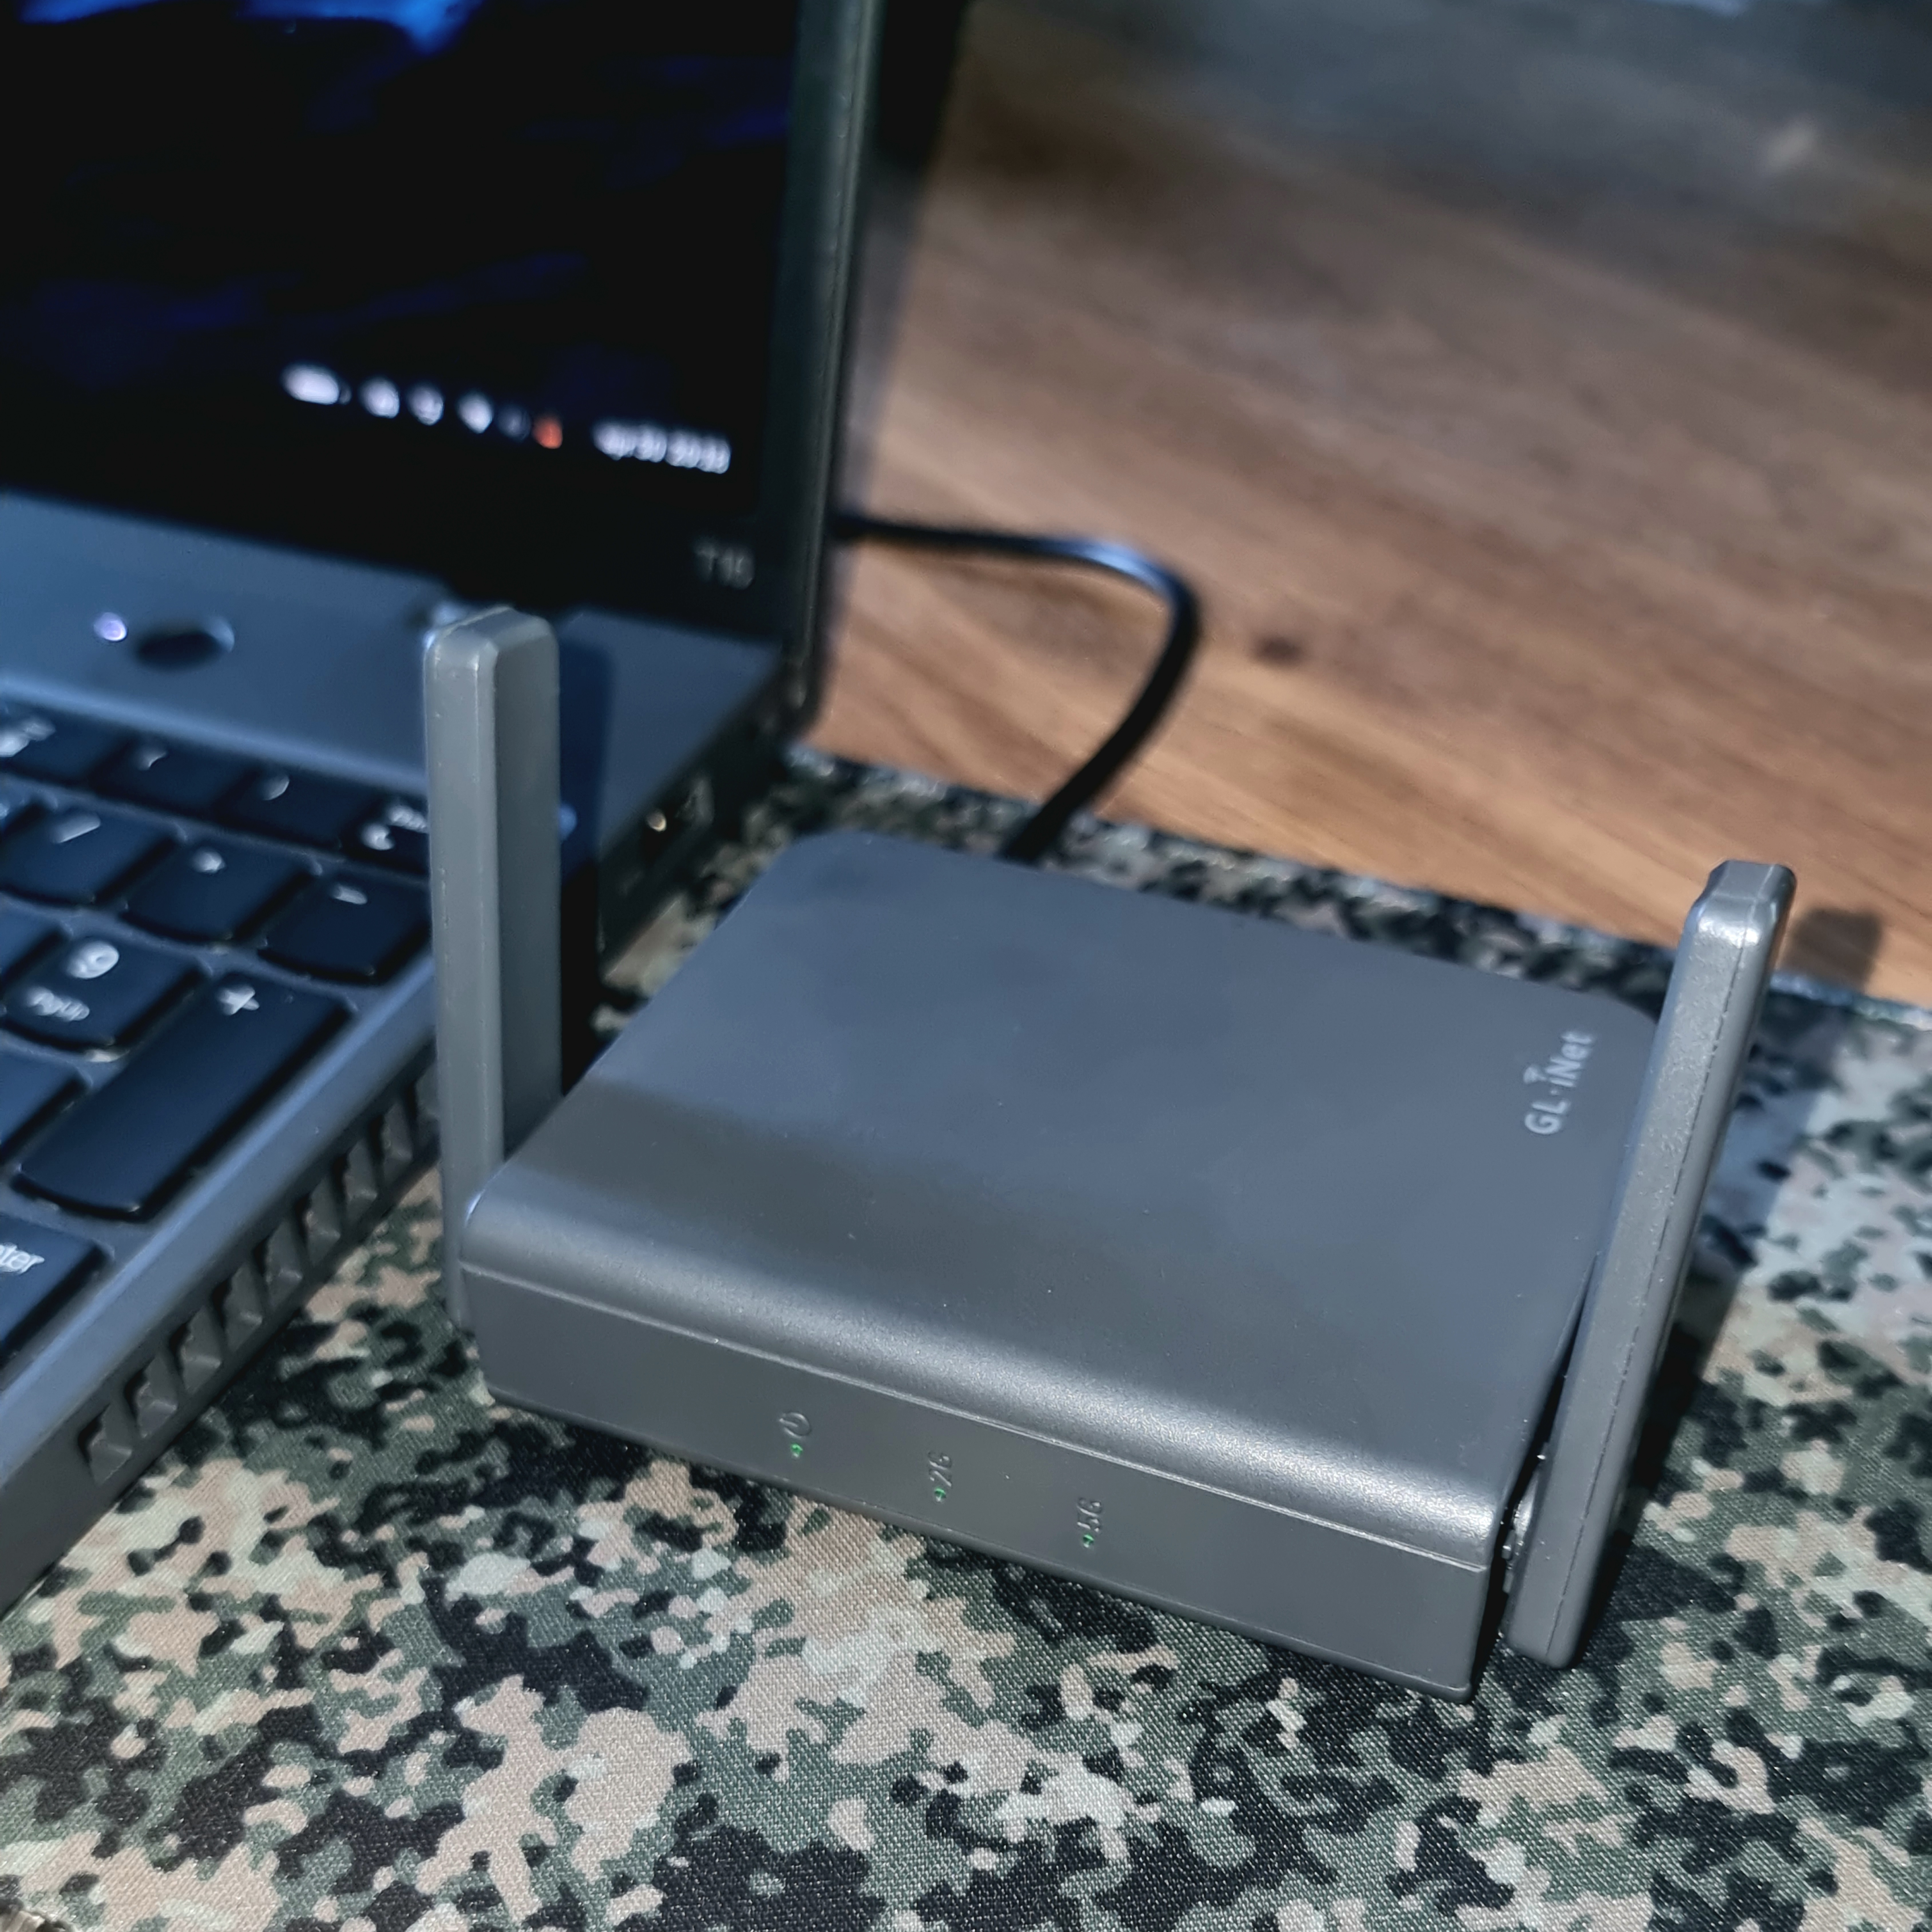
🔍 Recon & Scanning
The PineAP suite constantly listens for probe requests; the broadcasts your phone sends out asking:
“hey, is [network I’ve connected to before] around?”.
Within minutes of turning the device on in a public space, you should see a list of SSIDs that nearby devices are actively looking for.
📡 Rogue Access Point
Using the collected probe data, the Pineapple can broadcast SSIDs that match what nearby devices are searching for, causing them to automatically associate.
This is the classic Evil Twin scenario, and seeing it work in a controlled environment really demonstrates why connecting to open networks is not always a good idea.
🌐 Evil Portal
Standalone or continuing from the Evil Twin we can deploy an Evil Portal.
This, upon connecting to the network, can prompt the user to login through a fully customizable captive portal/landing page.
To do so there are presets to be found, but what makes it powerful.. any existing portal can be downloaded, cloned and put up to appear as legitimate.
An example of attack could be your local Starbucks where you login through a portal to gain access to the internet.
When cloned and you think you connected to the actual Starbucks, an attacker possibly just gained your login credentials!
🕵️ Capture & Logging
Paired with modules like DNSspoof or a basic packet capture setup, traffic from associated clients can be inspected. In a properly isolated test environment this is invaluable for understanding what data is actually exposed on unencrypted connections.
📶 Deauthentication
The device can send deauth frames to knock clients off a network, useful for forcing a WPA handshake capture, or just demonstrating to someone why “it’s just WiFi” isn’t a reason to stay unaware of risks.
Closing Thoughts
For the price of a couple of coffees and an afternoon of tinkering, you end up with a capable wireless auditing platform.
It might change how you think about WiFi!
Not as an invisible, trustworthy background service, but as a broadcast medium with real attack surface.
If you’re learning about wireless security, I’d strongly recommend going through the process of setting this up yourself. The act of flashing, configuring, and using the tool teaches you more than any passive read-through ever will.
All testing was performed on networks and devices I own, in a controlled environment.
Always get explicit permission before testing on any network/environment that isn’t yours.